
How to use a chainsaw mill comes down to one fact: your first cut determines the quality of every cut after it. Get the setup right and the rest of the slab goes smoothly. Get it wrong and you'll spend the whole log fighting a mistake you made in the first ten minutes. Here's the setup, in the order it needs to happen, plus what to do when the first cut comes out wrong anyway.
Table of Contents
How to use a chainsaw mill: what you need before you start
A chainsaw with a bar sized to your log (see our chainsaw sizing guide if you haven't settled that yet), your mill attachment mounted per its instructions, a guide rail, at least three heavy-duty clamps rated for 300+ pounds, a 4-foot level, a small square, and a handful of plastic or wooden wedges. The guide rail can be a dedicated milling rail, a straight aluminum ladder, or a straight 2×4: whatever you use, it needs to be at least 2 feet longer than your log's diameter so the clamps have somewhere to grip beyond the wood.
Step 1: Mount the mill to the bar
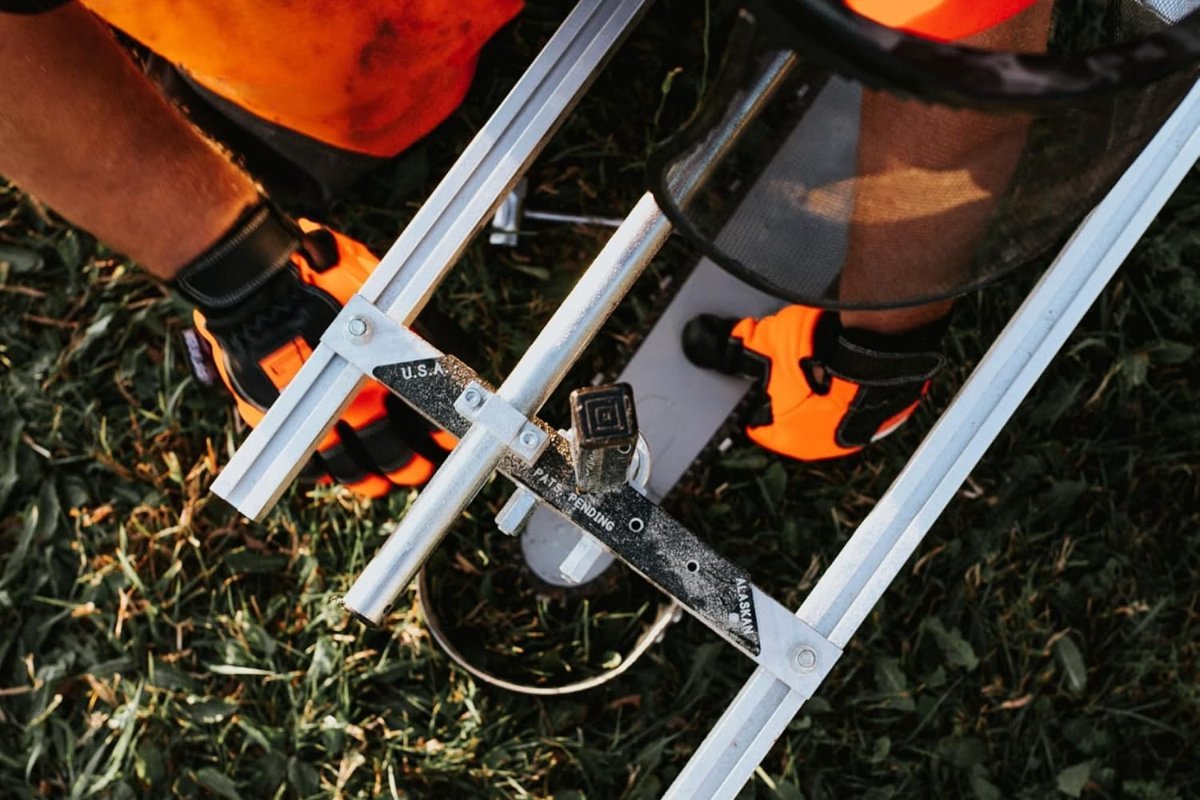
Slide the mill's brackets onto both ends of your bar and tighten them down. Before you fully commit, check that the vertical posts sit perpendicular to the bar with a small square: a bracket mounted even slightly off-square throws the whole cut off from the first inch. This is a five-minute check that prevents an entire ruined slab.
Step 2: Set up the guide rail
Lay your guide rail across the top of the log, past both ends. Clamp it down with at least three clamps: two isn't enough. The rail needs to resist twisting under the mill's weight, not just resist sliding. If you're using lag bolts to secure the rail instead of clamps, note where they are, because your first cut has to pass underneath them, never through them.
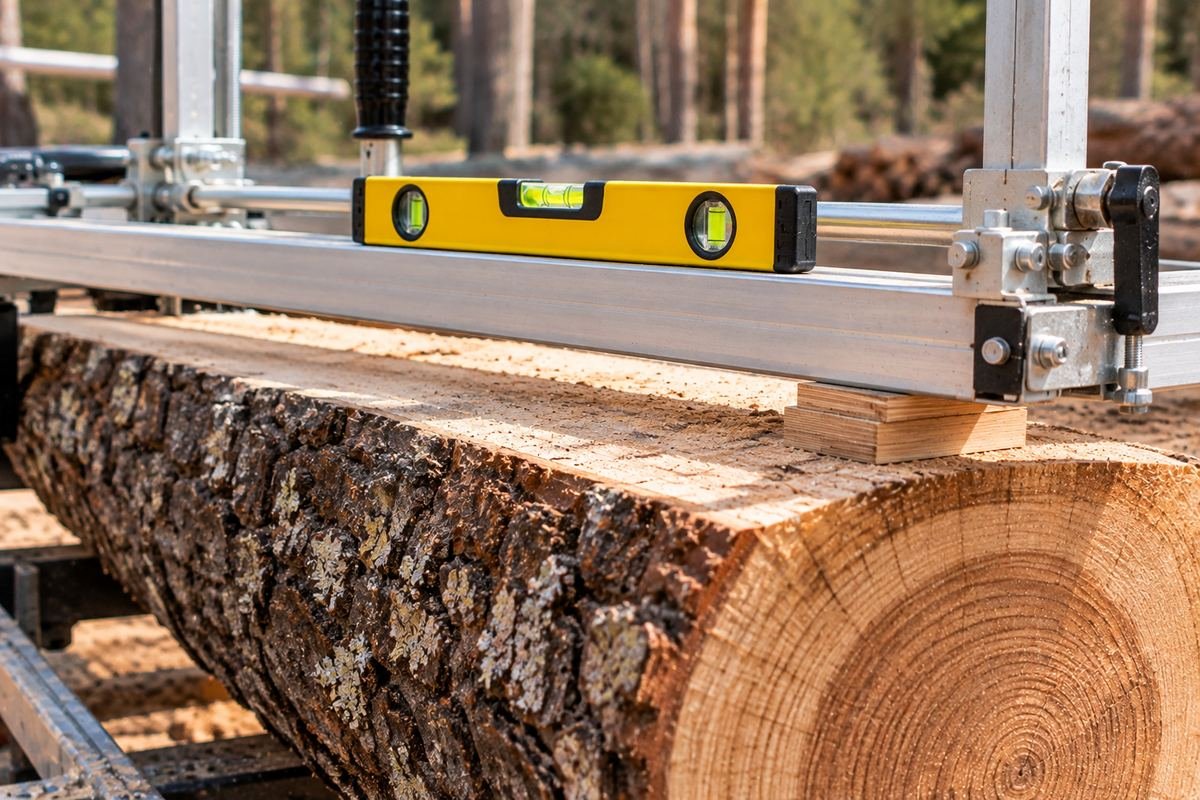
Now check level in every direction: along the rail's length, and side to side. A twist in the rail transfers directly into the cut: the mill has no way to know the rail is off. It just follows what it's given. Shim under the rail with wedges or scrap wood wherever it doesn't sit flat, then recheck after every clamp is tightened, because tightening a clamp can shift the rail slightly.
Step 3: Set the depth posts
The depth posts control how thick your slab comes out. Set both posts to the exact same height: not close, exact. Even an eighth of an inch of difference between the two posts tapers the entire board from one end to the other, and you won't notice it until the slab is off the log. Measure both sides with the same tool, not by eye.
Step 4: Check chain tension
Before you cut, confirm the chain sits snug against the bar but still pulls around by hand without binding. Milling puts sustained load on a chain in a way normal bucking and limbing doesn't, so check tension every session, not just when you first mount the chain.
Step 5: Make the first cut
Start the saw, let it come up to speed, and ease the mill onto the rail. Keep your forward speed steady rather than fast: rushing the first pass is the single most common way people ruin an otherwise well-set-up cut, because a rushed cut overheats the chain and leaves a rough, wavy surface even when everything else was done right. Apply light downward pressure on the mill frame, just enough to keep it tracking the rail, and let the chain do the cutting rather than forcing it through.
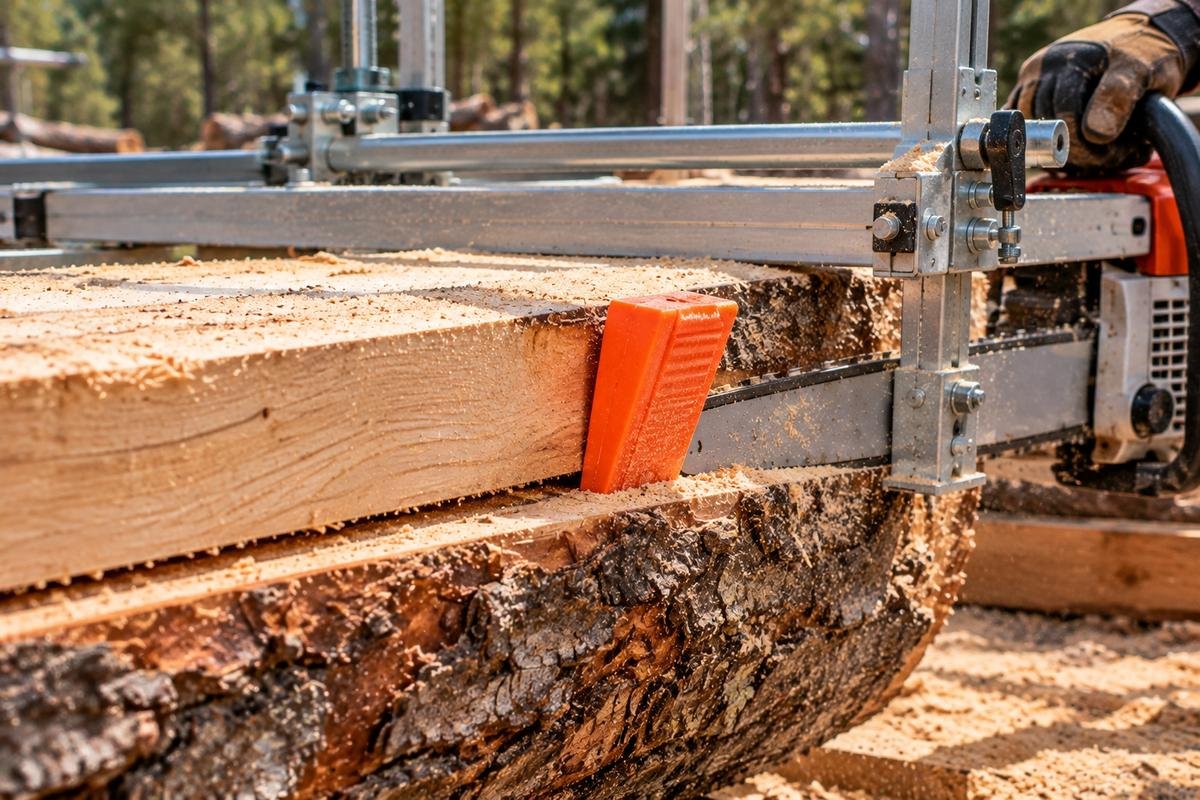
Insert a wedge into the kerf (the slot a blade or chain cuts) behind the bar every 2 to 3 feet as you go. As the cut opens up, the log's own weight can pinch the kerf closed behind you, which binds the chain and can kick the saw back: wedges hold that gap open so the bar never gets pinched. If you're milling a long log and the far end starts closing up as you near it, prop that end up slightly (a block, a jack, anything that lifts it a couple of inches). That opens the kerf back up using gravity instead of fighting it with the saw.
Once the top slab is off and you have one flat, level face on the log, you can remove the guide rail entirely. Every cut after this one rides directly on that flat surface. That is why getting this first pass right matters more than any cut that follows it.
What a bad first cut tells you
If something goes wrong, the shape of the mistake tells you which step to revisit:
Wavy or uneven slab surface: the rail wasn't level, or it twisted after you clamped it. Go back to step 2 and recheck level along the full length and side to side, not just at the clamp points.
Slab tapers from one end to the other: your depth posts weren't set to matching heights. This is almost always a measuring problem, not a mill problem: remeasure both posts with the same tool.
Rough, burnt, or torn surface instead of a clean cut: you cut too fast for the chain to keep up, or the chain was already dull going in. Slow down and check the chain before the next pass.
Mill dipped or dropped at the very end of the cut: common on long logs where the far end isn't supported the way the near end is. Prop the far end up before you start, not after you notice the problem.
What people get wrong on their first attempt
The most common first-time mistake isn't a technique error at all: it's skipping the level check because the rail "looks straight." A rail can look perfectly straight to the eye and still be off by enough to show up in the finished slab. This is exactly the kind of error a four-foot level catches in ten seconds and a first-timer's eye never catches at all.
The second most common mistake is rushing because the first cut feels like it's "just prep work" before the real milling starts. It isn't. Every cut after the first one uses the first one as its reference surface, so time spent getting cut one right is the most valuable ten minutes in the entire job.
Summary
How to use a chainsaw mill in four checks: mount the mill square, level the rail in every direction, match the depth posts exactly, and keep the first pass slow and steady. Four checks, none of them difficult on their own, and skipping any one of them shows up in every board you cut afterward. Once that first flat face is on the log, the rest of the milling gets noticeably easier. That is the whole point of taking the setup seriously.
Before your first cut, read our chainsaw mill safety guide, and pick a ripping chain made for cutting along the grain.
Quick answers
How do you set up a chainsaw mill for the first cut?
Mount the mill square to the bar, clamp a level guide rail across the log with at least three clamps, set both depth posts to the exact same height, check chain tension. Then make a slow, steady first pass using wedges to prevent kerf pinch.
Why is my chainsaw mill cutting a wavy slab?
Almost always an unlevel or twisted guide rail. Recheck level along the rail's full length and side to side, not just where the clamps are.
Why does my slab taper from one end to the other?
The mill's two depth posts weren't set to matching heights. Even an eighth of an inch of difference between them tapers the whole board.
Do I need wedges when milling?
Yes, for any cut of real length. Insert one every 2 to 3 feet behind the bar to keep the kerf from pinching shut and binding the chain as you cut.